Italian Silver Plated Sealing Wax Melting Spoons LetterSeals
$ 16,00 $ 9,60
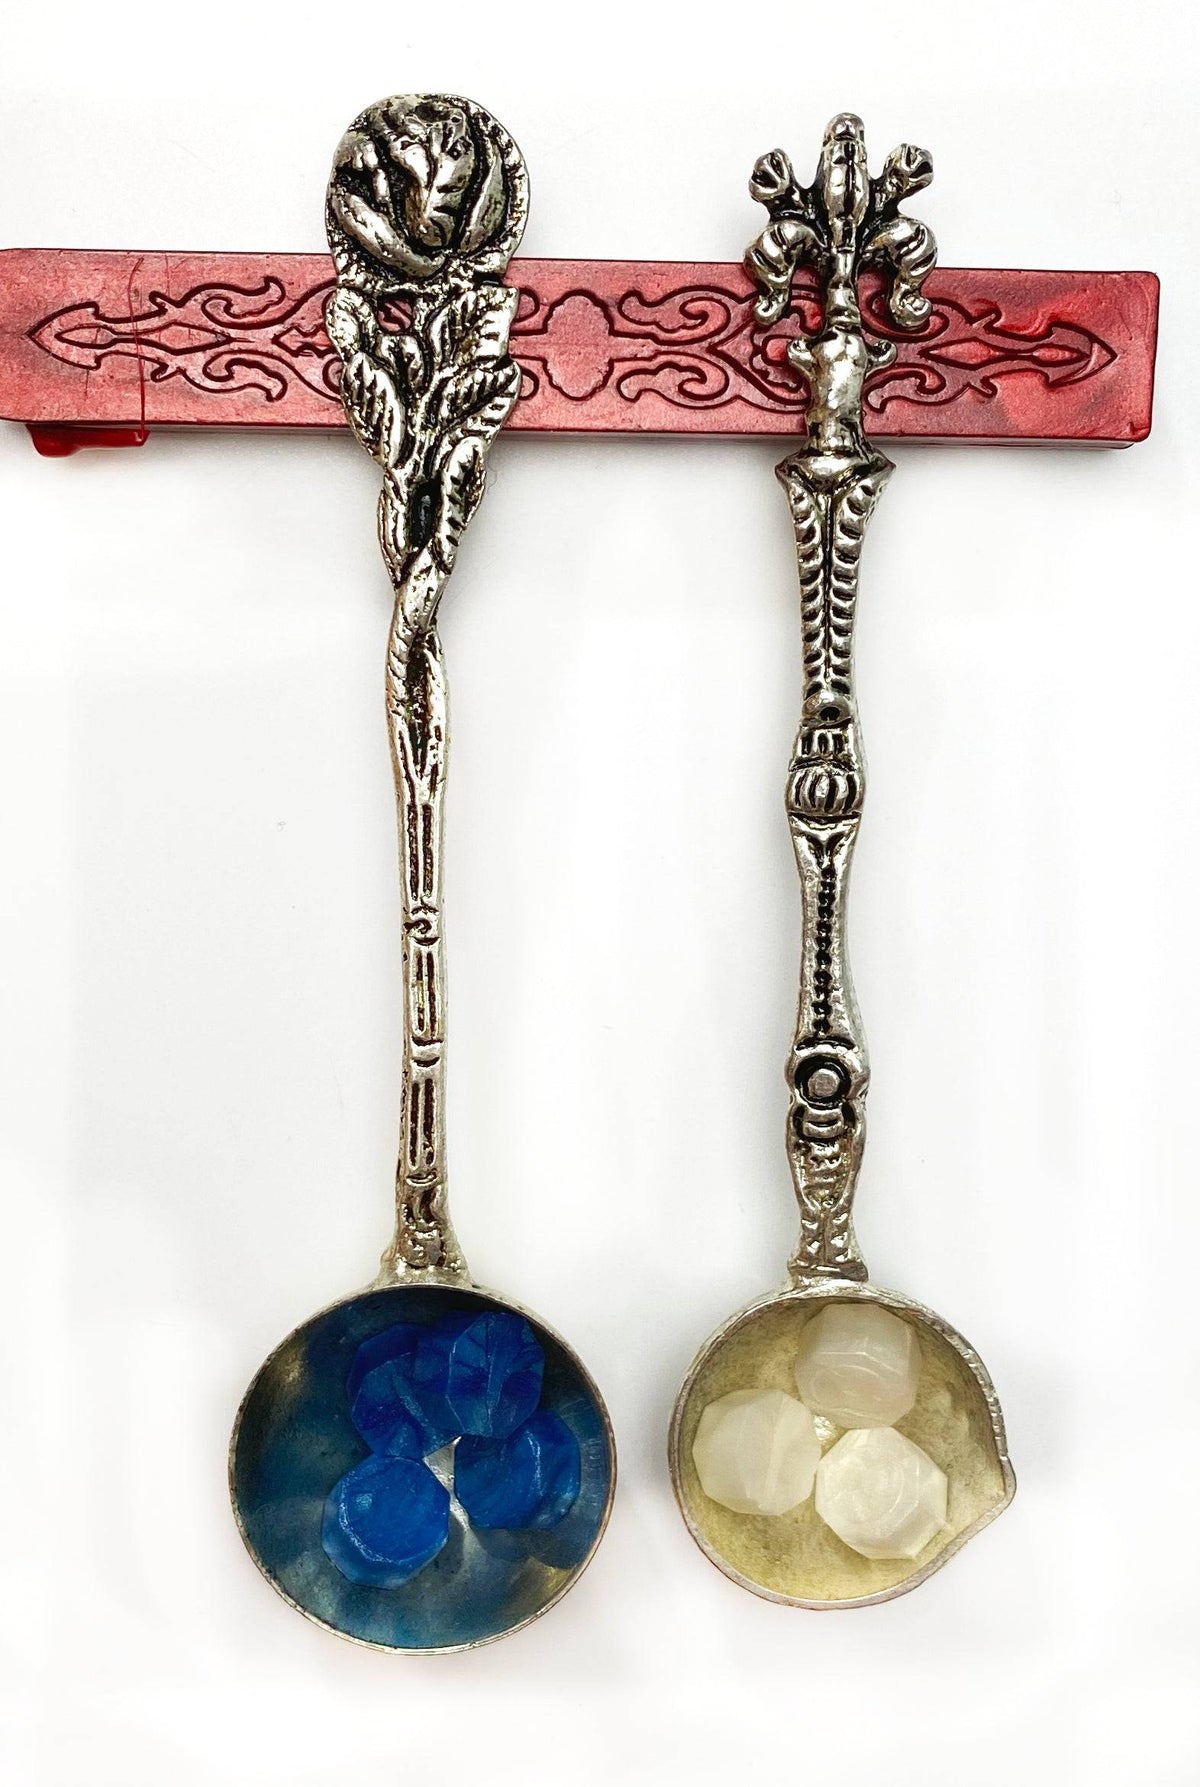
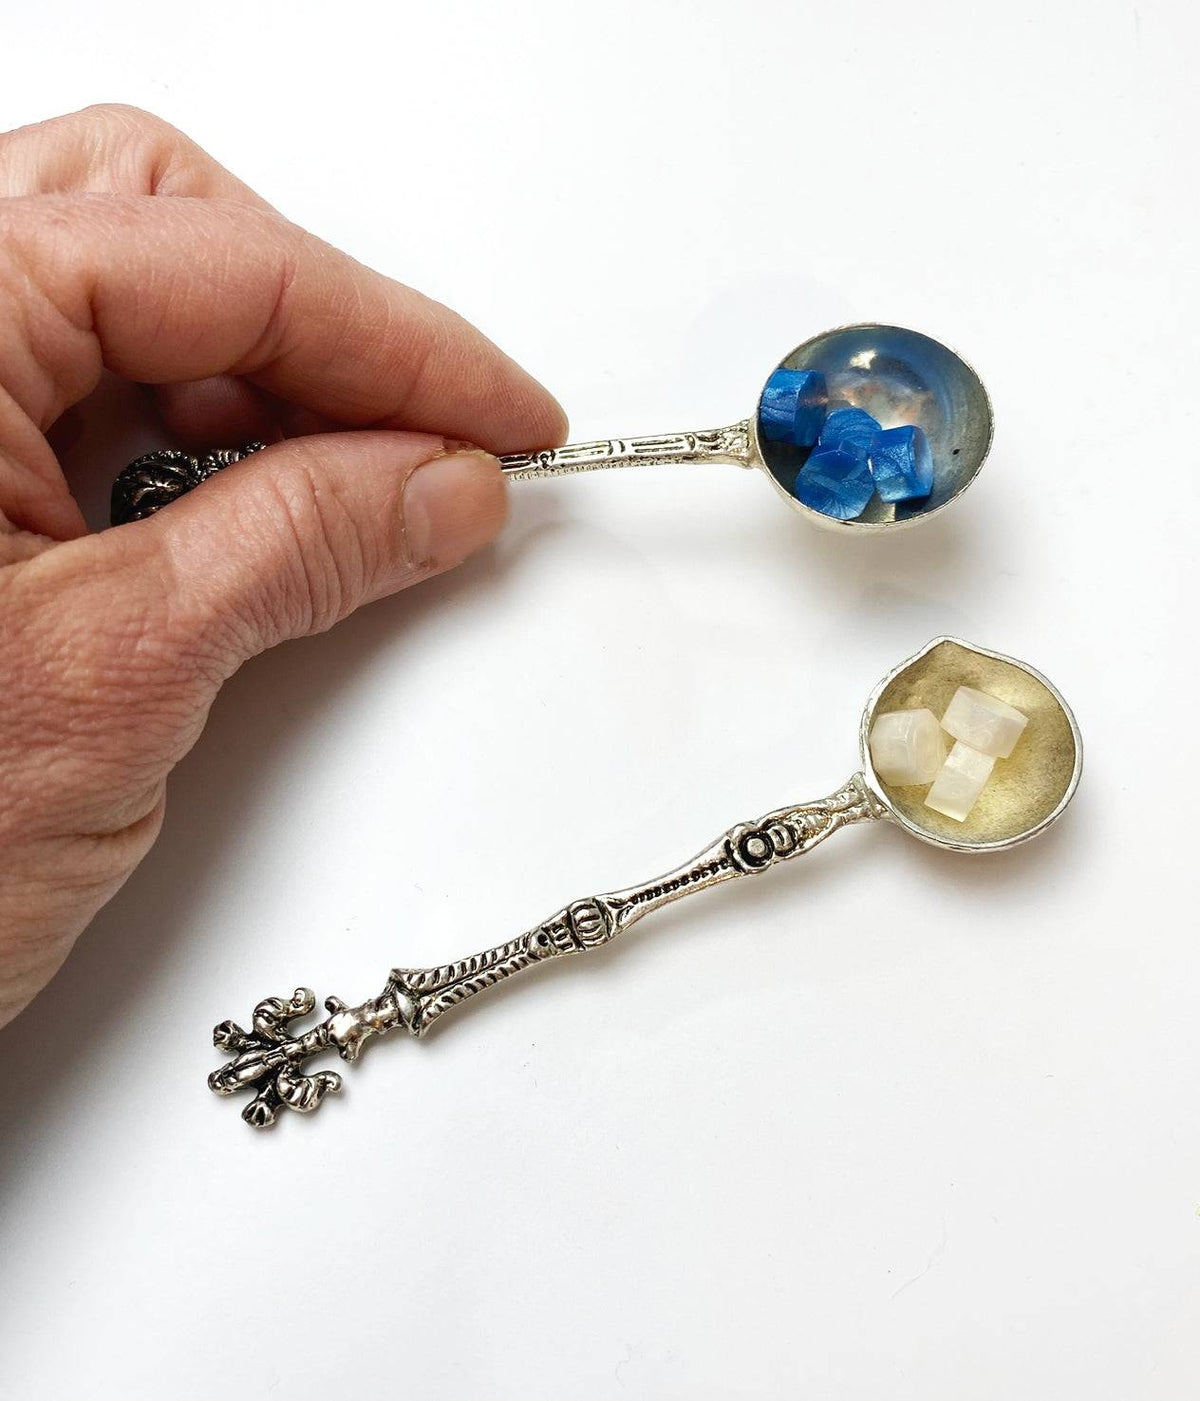
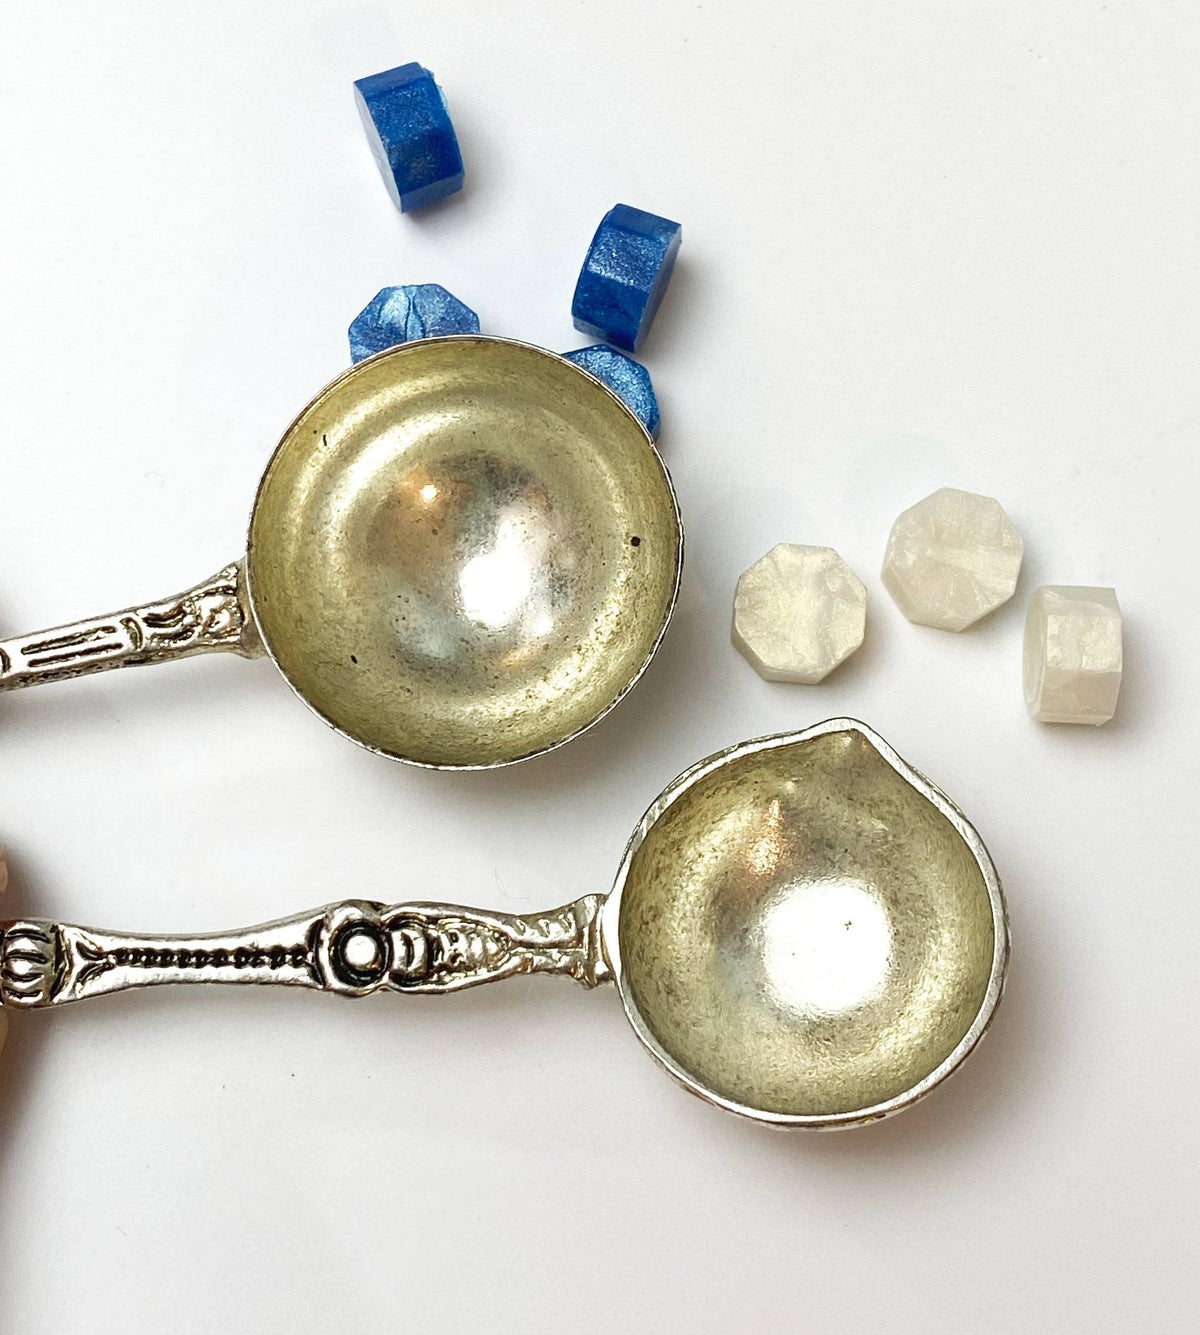
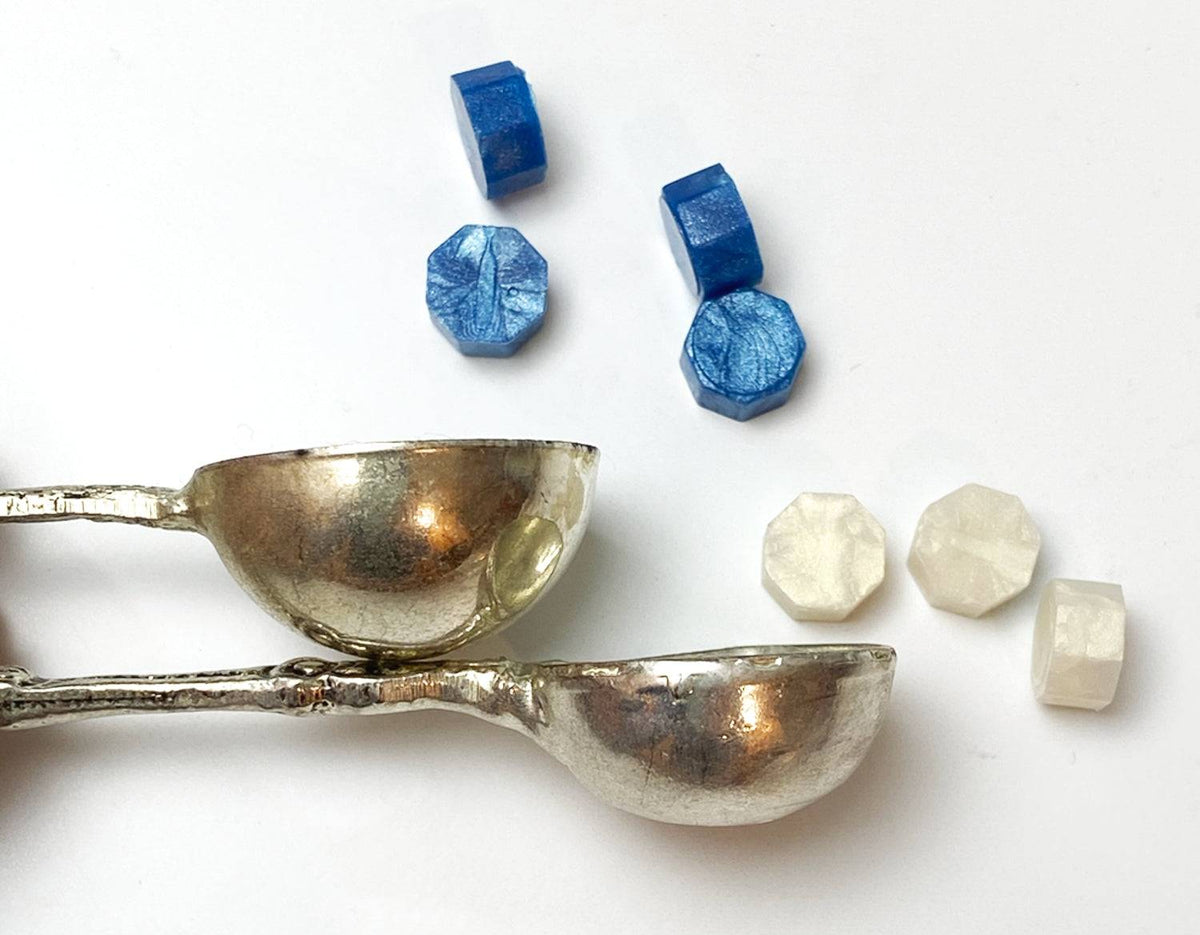
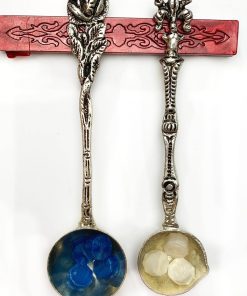
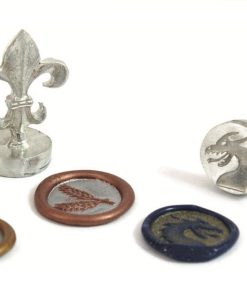
Crafted with the classic Florentine casting method and silver plated for a luxe finish, these Italian-made spoons are a must-have for every wax-sealing enthusiast! The fleur de lys handled spoon features a left-side fluted spout that makes for precise wax placement.
1. Have a heat source available, such as our paraffin tea light
A gas stovetop burner will work in a pinch.
These spoons are intended for use with a flame source other than platform-style wax melters (metal platform over tea candle), as the spoon bowls vary in size and may not fit the platform holes in these melters.
2. Place 3 or more wax beads, or a small amount of broken bits of wax sticks, into the spoon and hold over the heat until the wax just melts to a thick honey-like consistency.
If the wax is melted until very liquid, it will be too thin, and not take a good impression.
3. Pour the melted wax onto your project and emboss with your stamp.
Waiting a few moments before embossing may create better definition in the wax.
Experiment to find the correct waiting period for the conditions in your area.
– Useful for large or small projects.
– It is easy to practice seals on aluminum foil, parchment paper, or silicone mat, then remelt the wax in the melting spoon to use again.
– Create new colors and marbling effects by melting colors together.
To clean the Melting Spoon:
Warm the spoon if cool to soften/melt wax residue, and wrap it inside a doubled-up paper towel (grabbing the spoon with the paper towel works best).
Spin and rub the spoon inside the towel as you push the towel into the areas you are cleaning.
All wax and soot is easily removed with this method – depending on the amount of residue you are removing you may find you will need to rewarm the spoon or use a paper towel or two.
Be careful of any hot wax on the paper towel!
| Selection | Fleur de Lys Handle, OUT OF STOCK – Rose Handle |
|---|
Prompt Shipping and professional packaging
Our long-standing relationship with UPS FedEx DHL and other carriers around the world gives us the ability to provide a range of shipping services. Our warehouse personnel is highly-skilled and will package your items according to our precise and exact specifications. Your goods are thoroughly checked and properly secured before shipping. Everyday, we send to thousands of clients in different countries. This shows that we're committed to be the largest retailer online in the world. The warehouses are located located in Europe as much as they are in the USA.
Note: Orders that contain more than one item will be assigned a distinct processing time for each item.
Prior to shipping We will inspect thoroughly the items you have ordered. The majority of orders will be sent within 48 hours. The delivery time is estimated to be between three and seven days.
Returns
The inventory is always changing and we do not completely manage it due to the fact that many stakeholders are involved, including our factory and warehouse. The actual stock levels can fluctuate at any point. Please understand it may happen that your order may be out of stock once the order has been placed.
Our policy is valid for 30 days. Unfortunately, if thirty days have passed from the date you purchased the item, we cannot offer you a return or exchange.
Your item must be in its original packaging and be unused. It should also be in the original package.
Related products
Design Wax Seal Stamps
Design Wax Seal Stamps
Design Wax Seal Stamps
Tools & Accessories
Design Wax Seal Stamps
Washi Tape
Design Wax Seal Stamps
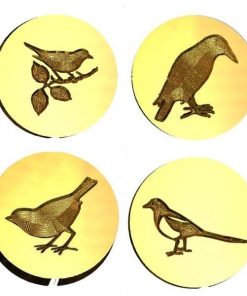
Bird Design Wax Seal Stamps – 35+ Design Choices LetterSeals
Design Wax Seal Stamps
Design Wax Seal Stamps
Design Wax Seal Stamps
Single Initial Wax Seal Stamps
Washi Tape
Design Wax Seal Stamps
Design Wax Seal Stamps
Design Wax Seal Stamps
PPLR_HIDDEN_PRODUCT
Design Wax Seal Stamps
Design Wax Seal Stamps
Design Wax Seal Stamps
Design Wax Seal Stamps
Autumn | Fall Design Wax Seal Stamps – 30+ Designs LetterSeals
Design Wax Seal Stamps
3/4″ Classic Designs Wax Seal Stamps | 60+ Designs LetterSeal
Design Wax Seal Stamps
Design Wax Seal Stamps
Design Wax Seal Stamps
Stationery & Ink
Black Cat Notebook | Softcover Italian Letterpress Rossi 1931
